Getting Started with CoreML
Building an object detection application
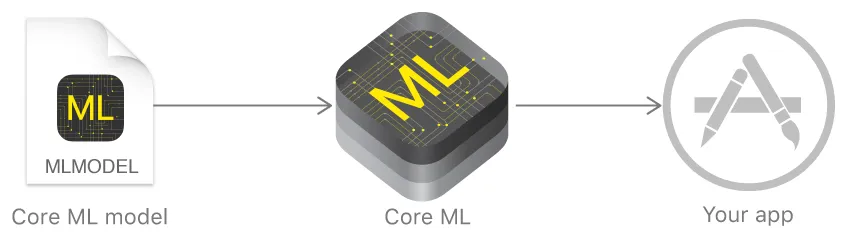
In iOS 11, Apple introduced the CoreML framework, which enables developers to leverage the power of machine learning on our devices. While we are limited to using trained models in iOS, there are numerous pretrained models available for use to begin integrating with today — the largest collection of models being object detection models, which I will run through an example of integrating below.
Note that if you do find yourself in a situation where some of the Apple provided models just aren’t working for the application you’re trying to build, I’ve outlined alternatives at the end of my post.
Also, if you really want to take a deep dive into the science of machine learning for a richer understanding, I can personally recommend Andrew Ng’s Coursera course on the subject, which is available for free.
Let’s get started in building an object detection application!
A Little Bit of Setup
Since we’re are walking through the basics of setting up an image object detection application, there is a little bit of setup required to get images to our model. I won’t go over in high detail since this post is about CoreML, but I will provide the code to get you started.
First you will need to add the Privacy — Camera Usage Description and Privacy — Photo Library Usage Description keys to your info.plist file.
Then add the following code to present an action sheet that will allow the user to bring photos into your app.
Choosing the right model
Apple has already converted many popular trained models and made them available for download here. In order to choose the right model for your application, you can view the original model details, which provides multiple sources of information on the creation and application of each model, including the labels for which the model attempts to categorize images into.
All you need to do is download the model you’d like to use, then drag-and-drop it into your Xcode project.
For a quick example of the output from each model provided by Apple, I’ve also made a project that will allow you to upload a photo and see how each model classifies the main object:
Generate a Vision CoreML Model From Your Imported Model
In this step you’ll begin using Apple’s Vision framework to create a container for your imported model file. This container, a VNCoreMLModel, is what we’ll use to perform our image classification requests on.
Note that theVNCoreMLModel initializer throws an error if the passed in model is unsupported. This can occur when the imported model does not accept images as input.
Create a Vision CoreML Request
In this step you define the actual request which will be invoked in the next step. Here you’re just writing a completion block to be executed when the model evaluates your image, and what to do with the output. We will be printing it to the console.
Perform the Request and Classify the Image
The last step is to pass the request off to a VNImageRequestHandler which will actually kick off the request and call your completion handler.
Note that the DispatchQueue.global(qos: .userInteractive).async DispatchQueue.global(qos: .userInteractive).async just means that we are moving the work off of the main thread, and by providing the Quality of Service level of .userInteractive we are increasing it’s priority in the queue.
Then you can put it all together.
And that’s it! You should be seeing the model’s prediction and it’s confidence printing to the console. Now you can easily swap out the model we used for another one listed on Apple’s website, or even look into alternatives below.
Alternatives to Apple’s Provided Models
Open Source Converted Models
Here’s an open source list of already converted models that are ready to be pulled into Xcode!
Convert a custom model
Apple provides directions and points to tools that will allow you to convert trained models into the proper CoreML file type.
Clarifai
Clarifai provides an easy-to-use API that allows developers to send images to their service and have one of their trained models determine what your image contains. There is a fee associated past 5,000 requests/month, but it a simple tool to use for fun or at a hackathon.
IBM Watson
You could also integrate with IBM Watson services to continuously train and redeploy your models in the cloud.
Lobe.ai
Lobe.ai was recently brought to my attention by a co-worker and looks like a simple and fun-to-use tool for creating CoreML models. While I personally have not had the chance to use it, it may be worth investigating.