How to host static website on firebase hosting for free
What is Firebase Hosting?
Firebase hosting is a Google hosting service which provides static web content to the user in a secure, fast, free and easy way.
Why Firebase Hosting?
Most of the web hosting will charge you or will be slow if they are free, also you have to pay extra for getting an SSL certificate to convert your website to a secure one with https.
Firebase hosting is free. So, it won’t cost you anymore. It by default provides SSL certificate and offers an impressive speed across multiple geographic locations without the need for a separate CDN on top.
Requirements
Google Account:
I believe you might already have a Gmail account, which is enough. If not create one.
Firebase-CLI:
Before you can install the Firebase CLI, you will need to install Node.js on your machine.
Once you’ve installed NodeJs, you can install the Firebase CLI using npm (the Node Package Manager) by running the following command:
npm install -g firebase-toolsDomain:
This is optional. There are various domain name providers in the world. Additionally, you can buy one from Godaddy.
Lets get our hands dirty
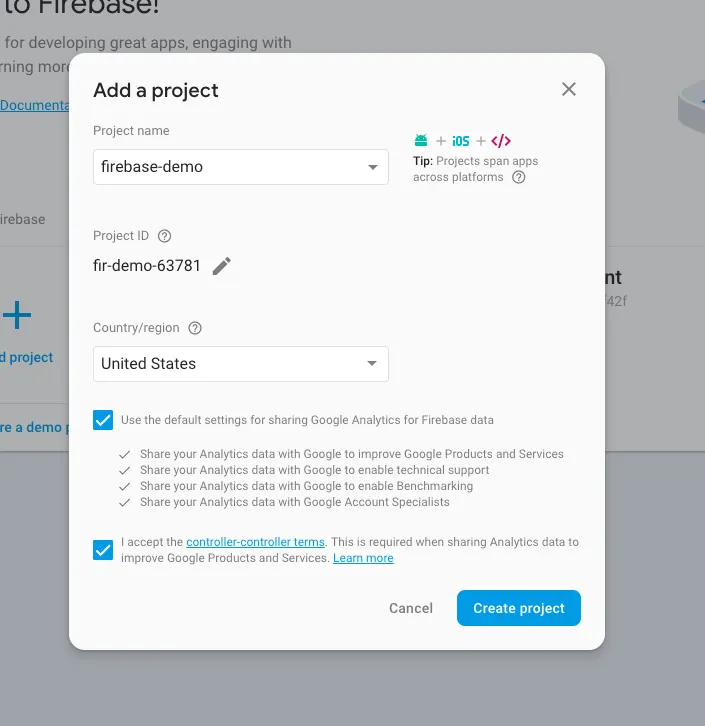
Step 1: Creating firebase project
Go to firebase and sign in with your Google account

then create new project, enter your project name (firebase-demo in my case)
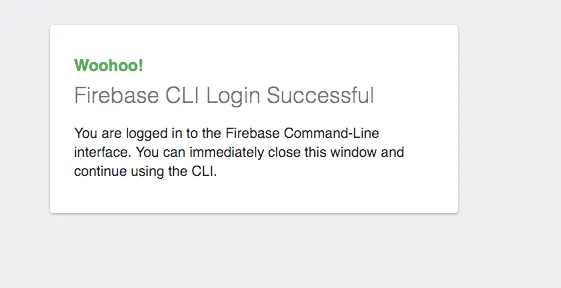
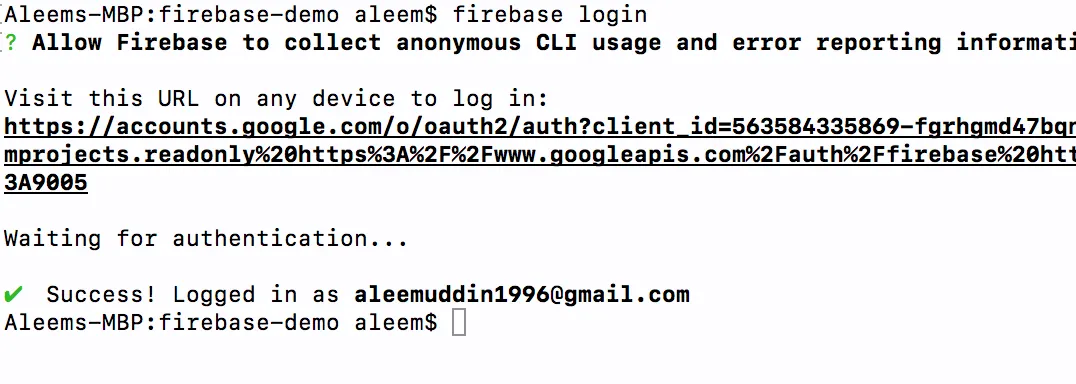
Step 2: Firebase Login
Now come back to the command line and go to your project folder
cd firebase-demoFirst we have to login into firebase from command line. Type in the following command.
firebase loginIt will take you to the sign-in page in the browser, once you’ve successfully logged in it will show you something like this
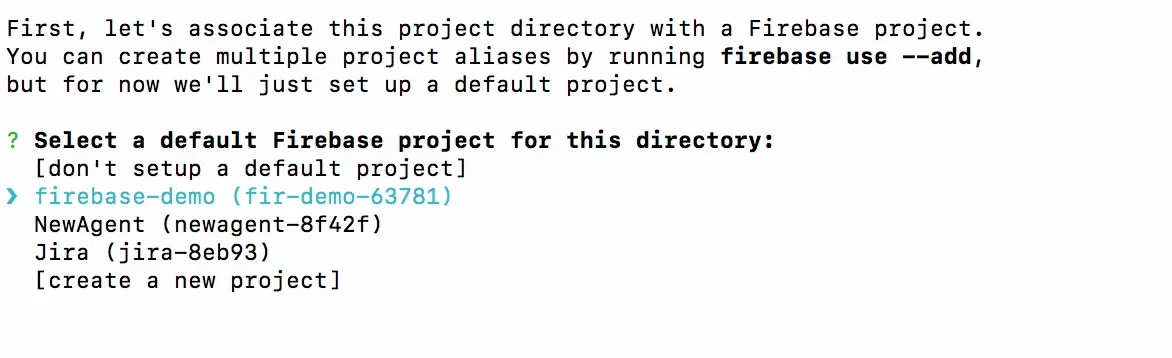
Step 3: Initializing project
To initialize firebase project you have to enter the command
firebase initThen you have to select Hosting feature and click enter

Then it will ask you to select firebase project, select project which we created in step 1 (firebase-demo in my case)
Then it will ask you enter the main folder in which all your website assets are present. (public folder in my case)

It will ask you whether your application is single page or not, for now enter y

It will try to override your index.html file, to avoid doing that enter n

Step 4: Checking setup (optional )
If everything goes right you can check you website locally by running command
firebase serveIt will run you website locally on http://localhost:5000 by default.

Step 5: Deployment
For deployment of your project you have to run command
firebase deploy
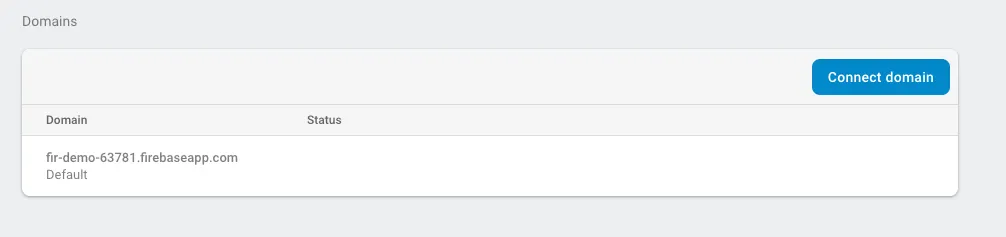
Congratulations! your website is now live, you can check by going to url which is provided in the command line in my case it is https://fir-demo-63781.firebaseapp.com/
Bonus Step: Connecting your domain
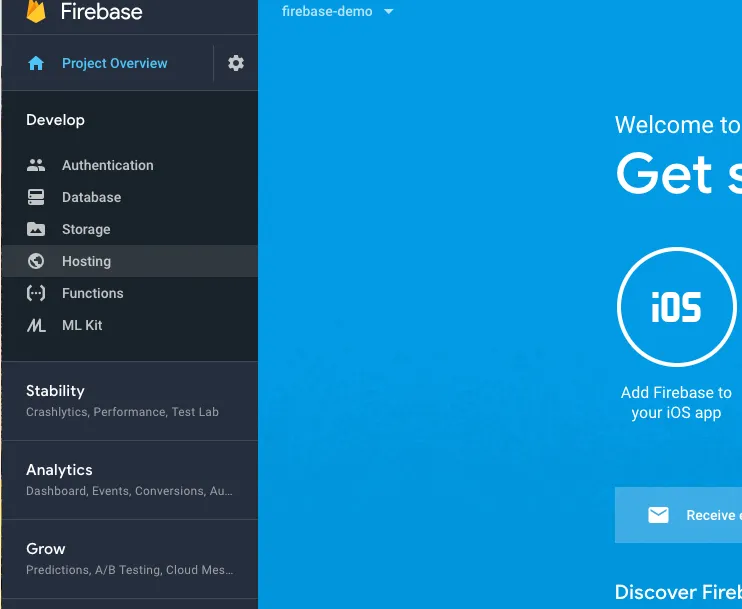
Go to firebase console, select the project which you’ve created (firebase-demo in my case) select hosting tab under develop tab (develop -> hosting)
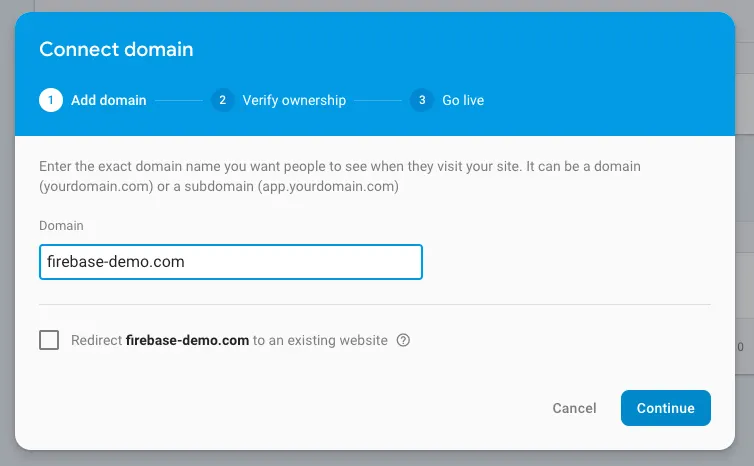
Then click on connect domain
Then enter your domain url
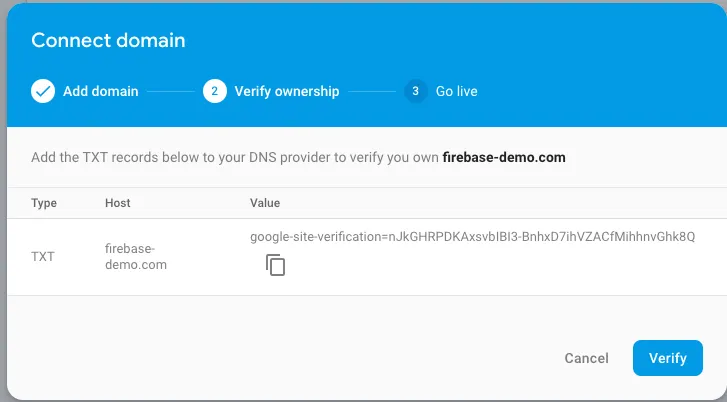
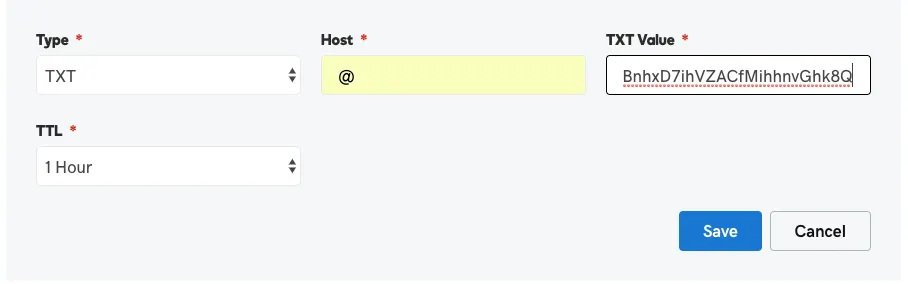
Then add the txt record and value into your domain provider dns
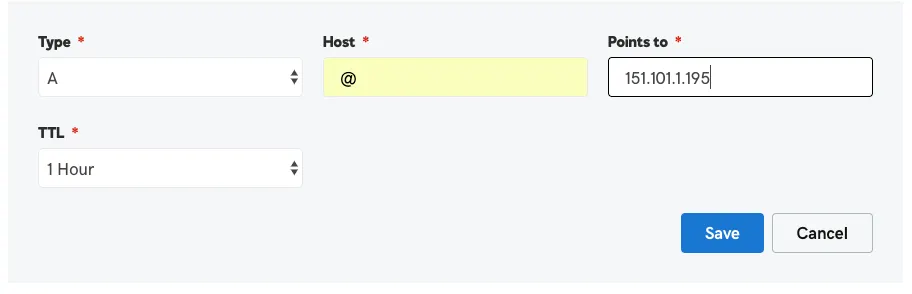
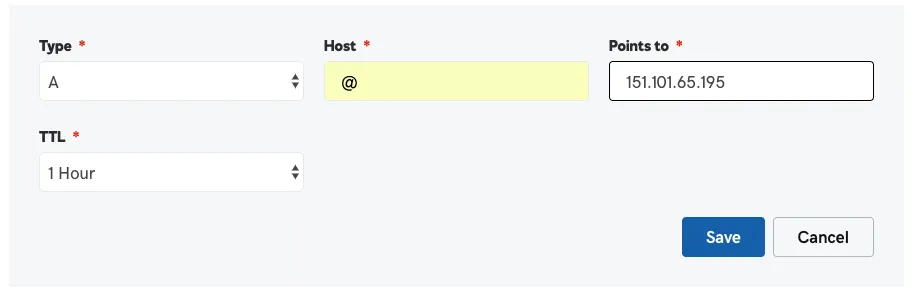
Then add A records to you domain provider dns
It will take upto 5min-1hour depending on your domain provider to update dns records
That’s how easy it is to setup your website on the firebase.
Wrap up
Thanks for reading this article. If you found this article helpful please consider sharing it. It means a lot to me.
Our website https://bothook.com is also hosted on firebase. :)
Also, Let’s become friends on Twitter, Linkedin, Github, and Facebook
In future, I’ll be coming out with more such great content. Make sure to follow me to not miss out on action :).
