Stripe on Android in 9 simple steps (Client-Side)
This tutorial helps to integrate Stripe payment into your app with the following features:
Accepts credit cards and other payment methods
Saves and displays cards for reuse
Launches full-screen activities to collect payment details
Allows your customer to choose Google Pay as a payment method

1. Add Stripe SDK
First, add Stripe SDK to dependencies of build.gradle (App):
2. Configure Publishable Key
Then configure your Publishable Key to the Stripe SDK by adding to the Application class:
3. Provide Ephemeral Key
Then you need to get the customer’s ephemeral key from your backend. In case you are using Retrofit with Gson converter factory, you need to add the following endpoint to your retrofit client interface:
Then create a provider class for Ephemeral Key:
In case you don't use Retrofit, take a look on https://stripe.com/docs/mobile/android/basic
4. Set up Customer Session
add customer’s session to payment fragment:
5. Set up Payment Session
First, create the payment session config as a method in PaymentFragment:
Next, configure the payment session listener:
Then, start the payment session in PaymentFragment:
Finally, add payment session handler:
6. Something from Backend
Bring stripeAccountId andclientSecret from the backend in order to start the payment.
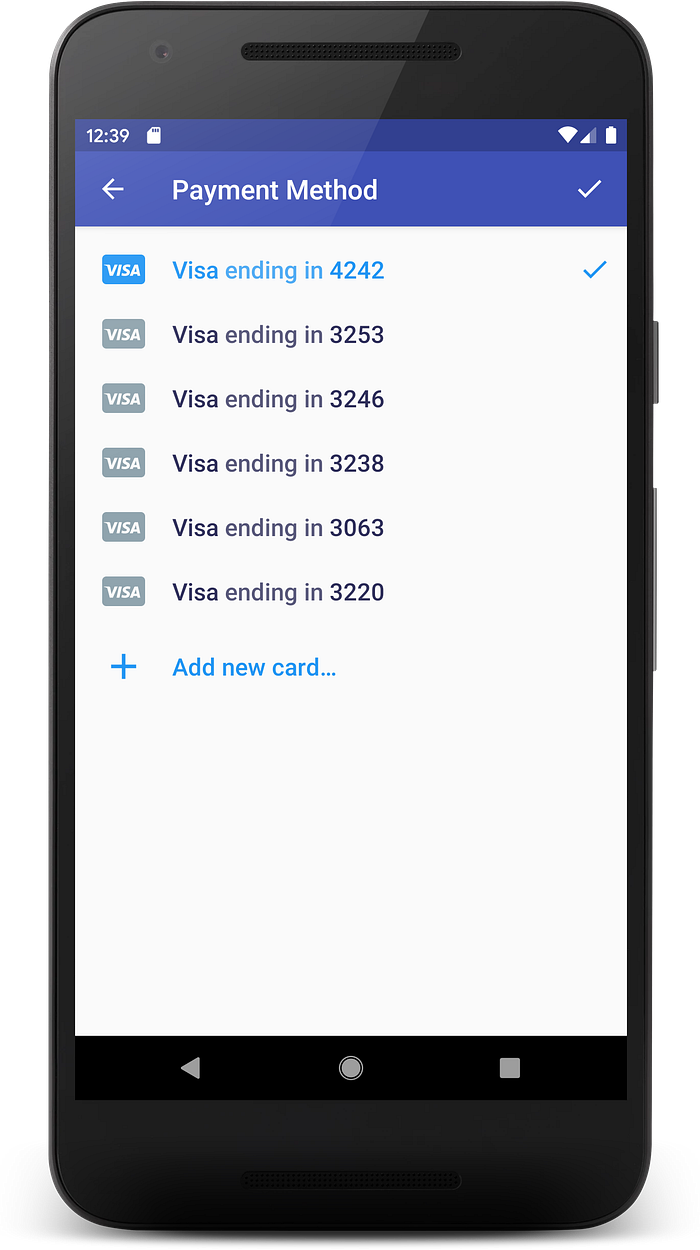
7. Add Payment Method
for adding payment method you just need to call the following code:
By calling this it goes to PaymentMethodsActivity
8. Confirm the Payment
Add a pay button to call pay method:
stripeAccountId andclientSecret are coming from the backend!
9. Add Payment Listener
Finally, add payment listener to onActivityResult:
Hooray, it is done! Clap it and share your opinions. :)
The information provided in the article is for informational purposes only