Turn your Mac Mini into a VPN server with PI hole as the DNS content filter.
I recently setup my own VPN on my mac mini, with PI hole running in a docker container finally allowing me to filter out ads and tracking on my iPhone on WIFI over 4G anywhere in the world. Also being able to access my Mac Mini’s storage and other applications.
Using my experience with AWS and Networking i decided to note it down as a tutorial all in one place so everyone can take advantage of it.
Note: Some experience with AWS/Docker/Networking knowledge required as I wont go in depth in some areas.
Required for this tutorial:
- Mac Mini ( or any Mac device running Mojave).
- Docker app running on the Mac. [https://docs.docker.com/docker-for-mac/install/] (Required for Pi-Hole)
- VPN enabler $15 [https://cutedgesystems.com/software/VPNEnablerForMojave/]
- AWS Account: https://aws.amazon.com/ (Route 53 ~£1 a month, will explain later)
- Domain name: https://www.123-reg.co.uk/domain-names/cheap-domains/
My first issue was finding a way can VPN into my mac mini anywhere I am in the world. Since apple removed support for VPN in Mac OS server [https://support.apple.com/en-us/HT208312] purchasing a copy wasn’t an option. Luckily I found a great bit of software called VPN Enabler for Mojave which worked out great: https://cutedgesystems.com/software/VPNEnablerForMojave/
This software runs an app on your mac which setups a VPN server all you need to do is run the app.
It costs $15 dollars or around £12 but think thats a small price to pay to bring back this functionality. After purchasing the app (will setup later) there was another obstacle I needed to get past. Static external IP addresses. If the server was running on AWS say on a EC2 instance I could use the static elastic IP for my VPN server but this method of static IP addresses isn’t possible with my internet service provider.
To get around the issue of an static external IP address changing I found a script from Will Warren which updates your ip address in AWS Route53: https://willwarren.com/2014/07/03/roll-dynamic-dns-service-using-amazon-route53/
Route53 is a way to route networking requests to your resources in this case my Mac mini. For this to work I would need a domain name which I can use as the address of my VPN server.

I headed over to 123Reg and bought a cheap domain name and pointed the name servers to the Route53 hosted zone.
Next thing I needed to do is to create a user in IAM which I needed Route53 Full Access so it can update the IP address when I run the script and created a AWS config file: https://docs.aws.amazon.com/cli/latest/userguide/cli-chap-configure.html.

Next thing i needed to do was to setup a static local ip address for my Mac Mini as not only does my IP address change externally but in my local network too. My ISP is SKY in the UK so this was simple to setup on my SKY Hub. I simply went to 192.168.0.1 and created a static local IP. Most modern routers should support this functionality!
Shown in the VPN enabler software i needed to port forward some ports to point to my mac mini.
For support of L2TP I needed to port forward UDP ports 500, 1701 and 4500 to the local IP address of my VPN Server machine which was my Mac Mini running on 192.168.0.14.
This was also simple on my Sky Hub creating Services / Firewall rules for these ports and pointed them locally to my mac mini.
After adding my users credentials into my AWS config on my mac mini I then ran the script locally in terminal on my desktop to see if it worked. sh route53.sh Confirming that my address was updated. If you get a permission denied error, you may need to chance the permissions of the file on the desktop or your config file may not be setup correctly.
The script needs to be ran every morning to check if the address changed. I firstly changed in energy saver wake settings so my mac mini will come on without me having to do it everyday.

In automator I then created a script to run the script saved as application then added it to my login items so it gets run every morning on startup.

I was thinking I could create a slack message for when this worked successfully but thought that was a bit overkill at the moment in time.
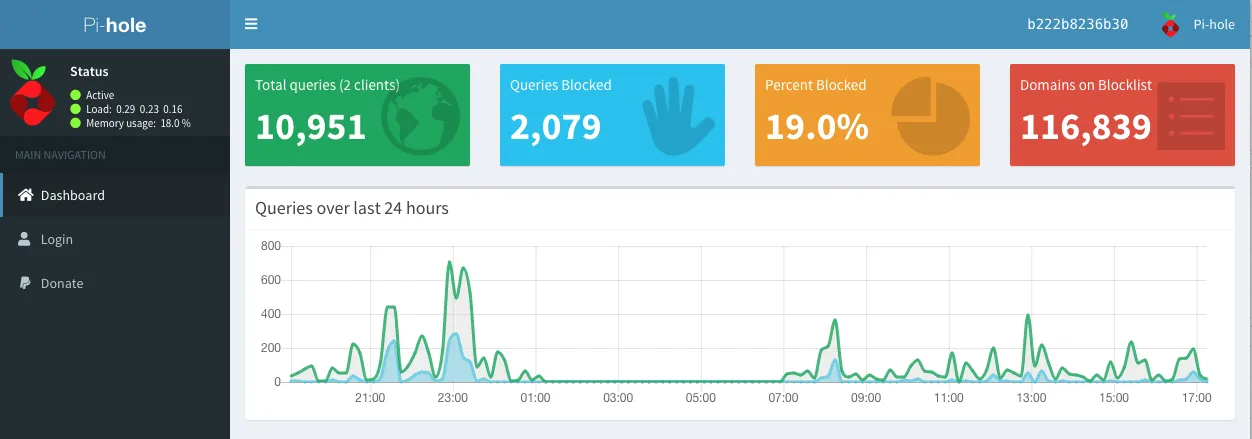
Next stage was to PI hole setup in docker. After downloading docker and Pinhole I then ran the docker compose. Detailed instructions here: https://github.com/pi-hole/docker-pi-hole
After that it’s time to setup the VPN.
I added VPN Enabler to login items (so it starts on startup) and run the app.

I pointed the Domain Server to my Domain Name which i setup earlier. I added my domain name to the DNS server as well which routes all traffic to my PI Hole running on my mac mini to catch the ads.
Last thing i did was to enabled docker hub to run on startup.
I then hit create config file in VPN enabler which I then Airdropped to my iPhone and went to settings then installed.
That was it. Now I’m blocking ads on my Mac Mini from on my iPhone anywhere in the world over cellular. I hope you found this useful, please post if you require any assistance and I will be glad to help!