Dynamic App Icons in Flutter: Ultimate Guide
The most up-to-date and in-depth guide covering the implementation of changeable launcher app icons in Flutter.
⏰ Completion time: 1 hour
🛠️ Stack: Flutter, Dart
🤔 Why do we need to change icons?
The dynamic launcher icon feature, currently available only on iOS, is more than just another option for user customization. This feature is widely used as one of the motivators for users leveling up or making in-app purchases. Why? Everyone wants a pretty icon on their home screen to show to their friends! Let’s see some great examples of dynamic icons.


As you can see, some applications unlock custom app icons only for certain users. This makes them a great addition to your subscription plan or an exciting reward for leveling up since it’s one of the easiest theming options you can provide for your application.
For example, Duolingo grants access to some of the icons only to people with lots of streaks, or people who bought a subscription.
Boost your creativity with different icons, and, if you don't have design skills, try generating something with AI! Also, sometimes even a simple gradient and playing around with filters in Photoshop will give great results.
Let’s do it!
The best way to introduce dynamic app icons in Flutter is by using the library called flutter_dynamic_icon. It only works with iOS/iPadOS > 10.3.
What about Android?
Unlike iOS/iPadOS, the latest versions of Android do not officially feature the dynamic icons feature. However, Android offers Adaptive Icons, and you can experiment with them using the flutter_launcher_icons package.
Create icon assets
Create a new Flutter project or use an existing one. Add the newest version of flutter_dynamic_icon by using this command:
flutter pub add flutter_dynamic_icon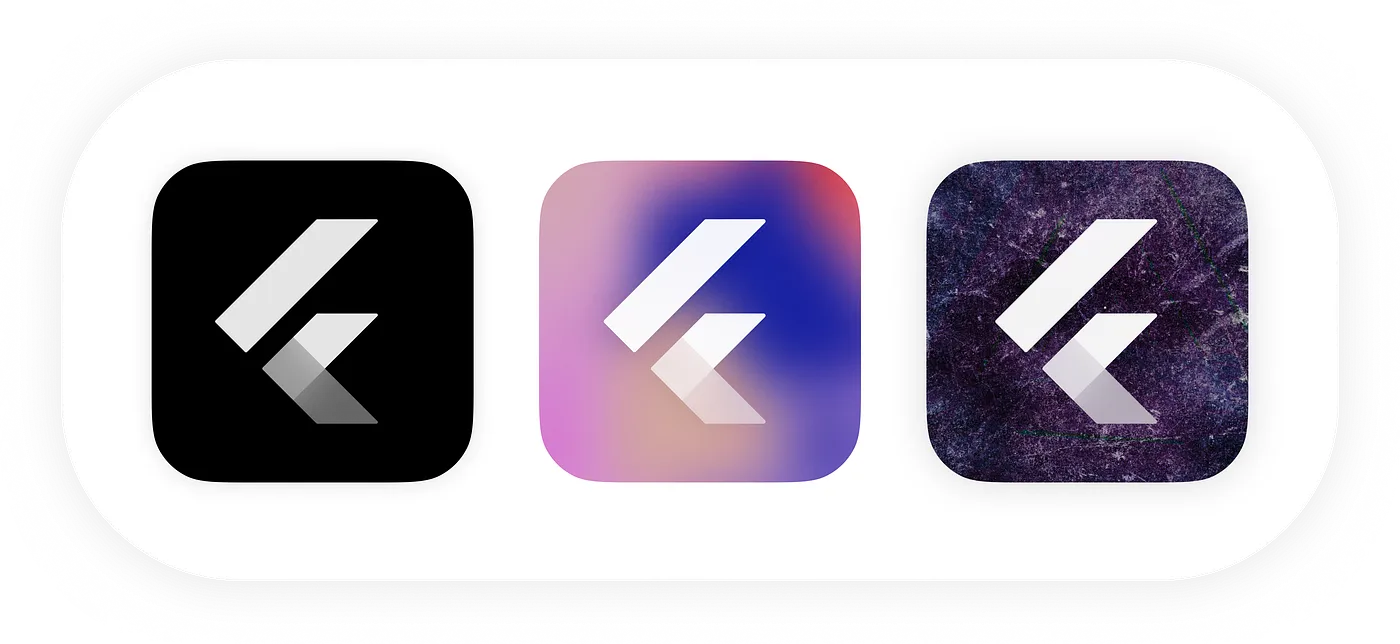
Next, we need to create our icons. I will provide three sample icons in the GitHub repository for this article. iPhone icons come in two sizes:
@2x-120px x 120px@3x-180px x 180px
Create your designs in precisely these sizes and export them all in a folder called AppIcons as shown below. The AppIcons folder can be located anywhere on your computer, but I advise storing it in your Flutter project directory.
💡 Note: The folder containing the icons can be called anything, but we will be using AppIcons for consistency.
black@2x.png,black@3x.pnggradient@2x.png,gradient@3x.pnggalaxy@2x.png,galaxy@3x.png

iPad Setup
Dynamic app icons are supported on iPadOS too. Note that if your application supports both iOS and iPadOS, you will have to add dynamic icons for both platforms. We will need to add two versions of each icon, one for iPad and one for iPad Pro:
iPad @2x-152px x 152pxiPad Pro @2x-167px x 167px
Notice that both versions have a size of @2x, yet different sizes in pixels. In order to avoid the confusion, I usually add IpadandIpadPro to the names of these icons. You can name them differently, but Apple is quite strict about the allowed symbols in file names, so be careful with that.
blackIpad@2x.png,blackIpadPro@2x.pnggradientIpad@2x.png,gradientIpadPro@2x.pnggalaxyIpad@2x.png,galaxyIpadPro@2x.png

📁 Adding icons to the project
This is where it gets a bit tricky. On the contrary to common app icons, the dynamic icons should not be kept in the Assets.xcassets folder, but outside of it.
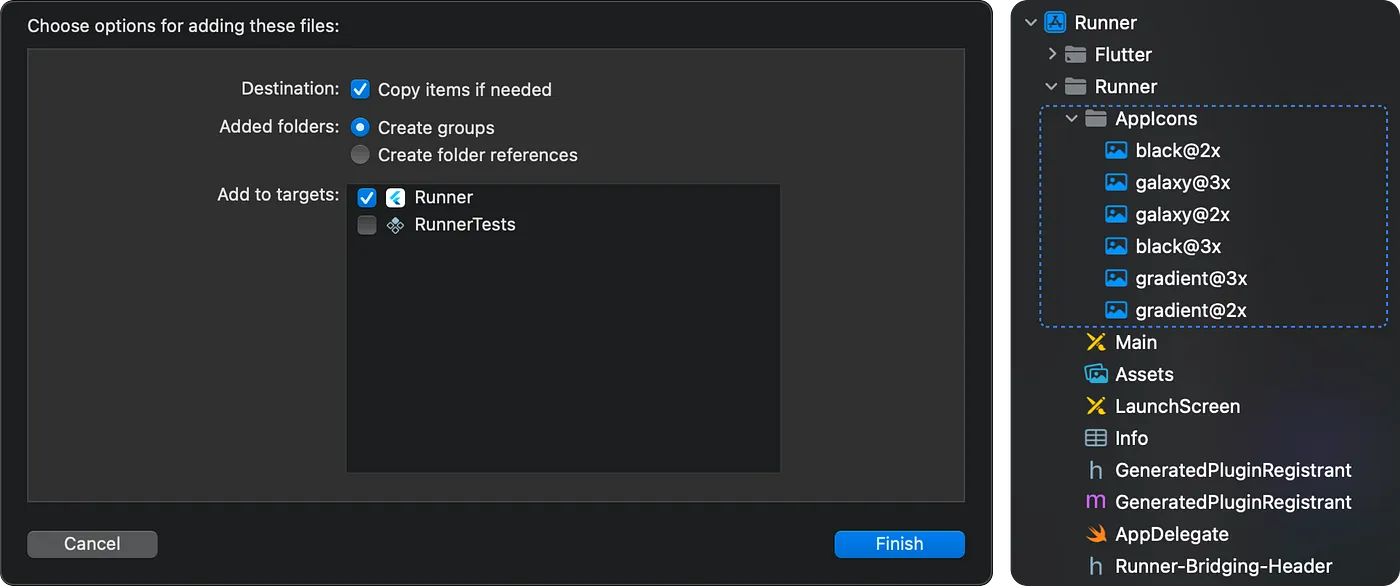
Open your iOS directory in XCode. Then, drag and drop the AppIconsfolder into the Runner directory (located below the Flutter directory).
When prompted with a popup below, select “Create groups”. This step is essential, as if not done correctly, it will result in an error when uploading to the AppStore.
Next, we need to add our icons to the Info.plist. I advise using the source code editing mode to avoid confusion. Add the following dictionary to the file:
... the rest of Info.plist
<key>CFBundleIcons</key>
<dict>
    <!-- Default app icon -->
    <key>CFBundlePrimaryIcon</key>
    <dict>
        <key>CFBundleIconFiles</key>
        <array>
            <string>black</string>
        </array>
        <key>UIPrerenderedIcon</key>
        <false/>
    </dict>

    <key>CFBundleAlternateIcons</key>
    <dict>
        <!-- First custom icon - Black -->
        <key>black</key>
        <dict>
            <key>CFBundleIconFiles</key>
            <array>
                <string>black</string>
            </array>
            <key>UIPrerenderedIcon</key>
            <false/>
        </dict>

        <!-- Second custom icon - Gradient -->
        <key>gradient</key>
        <dict>
            <key>CFBundleIconFiles</key>
            <array>
                <string>gradient</string>
            </array>
            <key>UIPrerenderedIcon</key>
            <false/>
        </dict>

        <!-- Third custom icon - Galaxy -->
        <key>galaxy</key>
        <dict>
            <key>CFBundleIconFiles</key>
            <array>
                <string>galaxy</string>
            </array>
            <key>UIPrerenderedIcon</key>
            <false/>
        </dict>
    </dict>
</dict>
... the rest of Info.plist
Adding these values will make your app recognize the icon names you provided. Make sure to exactly match the values with the icon file names (omitting the scale part).
You can find the full Info.plistsource code in this gist.
If your app supports iPadOS, You will have to add the iPad icons too — check out the source code here.
💡 Tip: You can set your default icon to be one of the app icons from the
AppIcon.appiconsetfolder.
💙 Flutter integration
First, define an enum with your icon values somewhere in your application, like this:
enum AppIcon {
  black,
  gradient,
  galaxy,
}
Let’s create a simple layout with three buttons that will call the changeAppIcon() function on tap.
In order to know which icon is currently selected, make the screen Stateful and add a variable calledcurrentIcon on top. Then, add the following code to get the initial icon name on initState:
  AppIcon? currentIcon;

  @override
  void initState() {
    // Get initial icon name and set it
    FlutterDynamicIcon.getAlternateIconName().then((iconName) {
      setState(() {
        currentIcon = AppIcon.values.byName(iconName ?? 'black');
      });
    });
    super.initState();
  }
Next, create the changeAppIcon() function:
void changeAppIcon(AppIcon icon) async {
    try {
      // Check if the device supports alternate icons
      if (await FlutterDynamicIcon.supportsAlternateIcons) {
        // Change the icon
        await FlutterDynamicIcon.setAlternateIconName(icon.name);
        setState(() {
          currentIcon = icon; // Update the currentIcon value
        });
      }
    } on PlatformException catch (_) {
      print('Failed to change app icon');
    }
  }
Finally, create this layout with three buttons to toggle between the icons:
@override
  Widget build(BuildContext context) {
    return MaterialApp(
      theme: ThemeData(useMaterial3: true),
      home: Scaffold(
        body: Center(
          child: Column(
            mainAxisAlignment: MainAxisAlignment.center,
            children: [
              for (AppIcon appIcon in AppIcon.values) ...[
                TextButton(
                  onPressed: () => changeAppIcon(appIcon),
                  child: Row(
                    mainAxisAlignment: MainAxisAlignment.center,
                    children: [
                      if (currentIcon == appIcon)
                        const Icon(
                          Icons.check,
                          color: Colors.green,
                        ),
                      Text('Change to ${appIcon.name} icon'),
                    ],
                  ),
                ),
                const SizedBox(height: 10),
              ],
            ],
          ),
        ),
      ),
    );
  }
Check out the full main.dart file code here.


Our dynamic icons are ready! Experiment with different icon implementations and watch how they transform the way users interact with your app. Whether you’re hosting a special event, highlighting new features, or just adding a touch of fun, dynamic icons provide an exciting way to connect with your audience.
Full example application source code is available here.
Conclusion
Today, we learned in-depth how to create dynamic app icons with Flutter in iOS/iPadOS and made a simple application showcasing the results.
Additionally, we discussed how dynamic icons can easily boost user engagement. They allow you to offer unique icons to specific user groups like subscribers, beta testers, or users of a certain level, making them feel special and more engaged with your app.
Experiment and share your results on social media!
If you enjoyed this article, please take a second to give it a clap! 👏
📣 Follow me on Twitter (𝕏) to keep in touch and receive a daily dose of Firebase and Flutter blogs, as well as tips and tricks.