Android Navigation Component#1: Using Actions to Navigate
Gone are those days when we had to write intents for navigating from one activity to another and get those ‘supportFragmentManger’ errors that we faced while dealing with fragment navigation and data exchange. Android navigation component is here to take care of the in-app navigation, data passing, navigation drawer creation, and other cool stuff. It is a part of the Android Jetpack (an awesome set of libraries that google provides us for android development).

In this blog, we will see the ways in which the navigation component makes our lives easier.
Overview:
Navigation refers to the interactions that allow users to navigate across, into, and back out from the different pieces of content within your app. Android Jetpack’s Navigation component helps you implement navigation, from simple button clicks to more complex patterns, such as app bars and the navigation drawer. The Navigation component also ensures a consistent and predictable user experience by adhering to an established set of principles.
The Navigation component consists of three key parts that are described below:
- Navigation graph: An XML resource that contains all navigation-related information in one centralized location. This includes all of the individual content areas within your app, called destinations, as well as the possible paths that a user can take through your app.
- NavHost: An empty container that displays destinations from your navigation graph. The Navigation component contains a default
NavHostimplementation,NavHostFragment, which displays fragment destinations. - NavController: An object that manages app navigation within a
NavHost. TheNavControllerorchestrates the swapping of destination content in theNavHostas users move throughout your app.
As you navigate through your app, you tell the NavController that you want to navigate either along a specific path in your navigation graph or directly to a specific destination. The NavController then shows the appropriate destination in the NavHost.
The Navigation component provides a number of other benefits, including the following:
- Handling fragment transactions.
- Handling Up and Back actions correctly by default.
- Providing standardized resources for animations and transitions.
- Implementing and handling deep linking (outside the app like web URLs).
- Including Navigation UI patterns, such as navigation drawers and bottom navigation, with minimal additional work.
- Safe Args — a Gradle plugin that provides type safety when navigating and passing data between destinations.
ViewModelsupport - you can scope aViewModelto a navigation graph to share UI-related data between the graph's destinations.
In addition, you can use Android Studio’s Navigation Editor to view and edit your navigation graphs.
Let’s Dive into the Code:
1. Add navigation dependency in the build file:
In build.gradle (project)//check for latest version
nav_version = '2.3.0-alpha02'
In build.gradle (app)//navigation
    implementation "androidx.navigation:navigation-fragment-ktx:$nav_version"
    implementation "androidx.navigation:navigation-ui-ktx:$nav_version"
2. Create a navigation graph in Res folder:
Now we will create a nav graph (separate for each activity preferably) which will include all the destinations (fragments, other nav graphs, activities) and their connections.
For creating a nav graph follow the steps:


After this, you will get an empty file like this

Now we will add a destination (fragment) in the graph


After getting created you will see a GameFragment.kt class in the java folder and fragment_game.xml in the layout folder.
In the text section of main_navigation.xml you can see the fragment destination which has the following properties:
<fragment
    android:id="@+id/gameFragment"
    android:name="com.example.blogtemplate.GameFragment"
    android:label="fragment_game"
    tools:layout="@layout/fragment_game" />
The label is the one that appears on the title bar in the actual app.
Now add one more destination with name ResultFragment and then the final picture would be like the one below

Notice that in the graph list on the left the gameFragment is the starting point in this navigation. This destination can be made the starting point.
3. Create NavHostFragment in Activity:
Now we need to create a container where this nav graph can fill the views. For this remove all the child views and create a navHostFragment in your activity’s layout file.
Few things to note here:
- Android Studio will suggest you to change the <fragment> to its androidx component i.e <androidx.fragment.app.FragmentContainerView> but that will create a problem as the navigation library is built for using a fragment and not FragmentContainerView. So don’t change it.
- The ‘name’ property declares the fragment as a NavHostFragment.
- The navGraph property attaches our nav graph to the fragment.
Update the text in both fragments and run the app and you will see the GameFragment there but there is no navigation going on right now.
4. Add Actions to Navigate:
Now let’s add an action to navigate from gameFragment to ResultFragment.
Click on the gameFragment and using the dot drags line to the resultFragment.

One thing to notice here is the popUpTo attribute on the left as shown below. Setting a value to it means that when we navigate using this action then all the fragments till the one set as the value will be popped from the stack i.e in simpler terms on pressing back we will skip till the given fragment is reached. The inclusive checkbox pops even the fragment which is set as the value for the popUpTo property.

You can also add animations for the navigation from the attributes section on the right. The id will be used to navigate.
5. Navigate Using Action:
Now we need something that can trigger navigation, so let’s add a button to the GameFragment and then the onClickListener can act as the trigger. our final fragment_game.xml should like this:
Now to trigger the navigation let’s add an onClickListener in the GameFragment.kt
Now run the app and test it by clicking the navigate button. It will navigate it to the resultFragment.
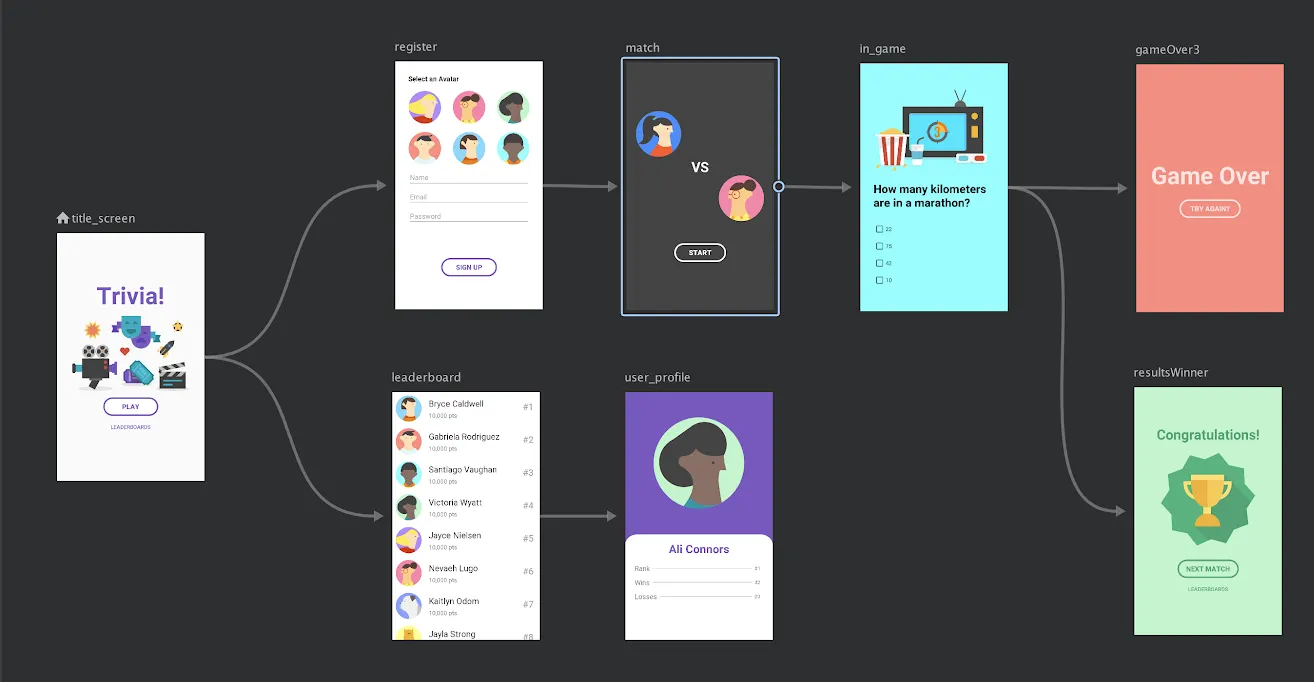
This is the entire process to navigate up and down the app by adding more destinations to it. The nav graph can be a bit more complex as the one shown in the cover picture of this blog but believe me if you don’t use it and try to navigate using intents you will have to write a lot of similar code and also get a lot of errors will be there, so best of luck😉.
In the next part of this series, we will see the way in which we can pass data between the fragments using navigation and safe args.
Feel free to comment if there are doubts or if you feel anything needs to be corrected😀.