Bug Smashing — A Guide To Debug Your App
Bugs are an inseparable part of Software Development. We do our best at avoiding them by following good practices, design patterns and the like. Unfortunately, no code is perfect and bugs eventually make it into our products.
We then need to go into debugging, which can be painful and take a lot of our productive time. Simple bug fixes could take a few seconds, while huge issues can take anything from a day to an excruciating week.
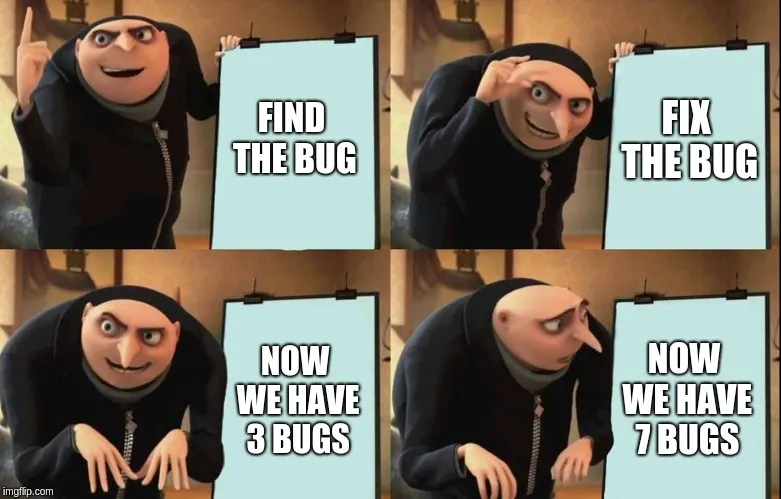
Sometimes, it just so happens that we manage to fix the bug, but instead we end up introducing a ton more. This is called a regression, when your attempt to fix a bug or edge case, results in breaking other cases.
“If debugging is the process of removing bugs, then programming must be the process of putting them in.” (Edsger W. Dijkstra)
Fortunately, I have a checklist that I follow when fixing bugs in my code, and found that it has always given me good results and few regressions. Here goes!
#1: Reproduce

This is the most important step in Debugging. I can’t stress this enough. I’ve seen tons of Software Developers attempt to fix a bug without reproducing it first, with minimal information about the actual issue. This causes a lot of uncertainty, and can easily lead to regressions.
Here, you’ll need to think and act like a user. You most probably have steps to reproduce the issue, or some knowledge about which screen the bug is in. If you don’t have enough info about the bug, get some more before debugging!
Try to reproduce the bug now. Until you are sure that a particular sequence of steps OR a certain scenario causes the bug, do not move ahead.
Some bugs can be hard to reproduce. For example, in the Android world, we have a Main Thread that renders the UI and keeps it responsive to user inputs. Obviously, we can’t perform blocking I/O operations on this thread, so we use background threads. A scenario, where the background thread responds from an API after a screen is destroyed, and you touch the UI elements in an attempt to display some data, can cause a nasty bug.
This is called a Race Condition, where particular sequence of events from different threads (racing to the finish line) cause a bug or crash. And these can be quite deadly to reproduce and fix.
Fortunately, you can add delays and sleep threads to make these reproducible.
#2: Root Cause Analysis & Fix

Welcome to step #2! You now have a reproducible bug. And you have full access to the code. This should be a walk in the park!
Why? Because you know the exact conditions to reproduce the bug. Code doesn’t lie, and it should be fairly easy to locate the bug once you locate the code causing it.
Logging and debuggers are your best friends here. If you’re dealing with a large codebase or new to the project, just attach a debugger and follow through navigation and triggering actions. Else, add logs around the suspicious code and perform the steps. You’ll eventually find the piece of code that’s causing the issue.
Start looking at the usages of the piece of code. Is it being called from multiple places? While you’re here, take a note of the places that the code is being invoked, so you know what you’re affecting when making a fix.
You can now proceed to fix the bug. Doing this effectively only comes with Software / Framework experience and codebase knowledge. Don’t be ashamed of asking for context or help from your fellow Engineers!
#3: Re-test & Regression Testing

Congratulations, you fixed the bug! However, we’re not done yet.
“Never allow the same bug to bite you twice.” (Steve Maguire)
Test the steps that you found earlier, which caused the bug. See the importance of getting a reproducible bug? If you didn’t spend time in step #1 before, you would have no definite way of knowing that you fixed the bug.
Remember the usages of the piece of code that caused the bug? Test those scenarios as well, to make sure you’re not causing a regression.
Ideally, this step shouldn’t take too long, unless you found a regression and need to repeat step #2. That’s great too, you just caught a bug before it went to Production!
Bonus: UI & Unit Test Cases
Having tests in a project makes bug fixing a lot smoother. If you don’t have any, or have not written one before, now’s a great time to start!
Automation Testing takes the burden off of you and into code that you can run to test pieces of your app, be it navigation, output of a function and even entire scenarios! You also don’t have to worry about regressions, because the test cases take care of validating all your defined scenarios.
Test Driven Development (TDD) is a development process that puts a lot of focus on the output of tests, for determining whether a piece of code does it’s job correctly. A good approach in TDD for fixing a bug, is a pattern called Red-Green-Refactor. You begin by writing a test that causes the bug (asserting for the ideal behaviour so the test fails) and then go in to write the code to fix it. Hereafter, performing refactoring and cleaning up is easy because you just need to run your test to validate whether your code still works. This also helps increase the number of tests because you get a test case for every bug you fix!
Note that if you don’t have a bunch of tests, you will need to manually test your fix and for regressions.
And that’s it. Happy Debugging!
I’m Calvin Noronha, a Software Engineer who loves to write code. High-five this post if I helped you, or leave a comment. Any feedback is welcome!
You can also reach me on Twitter — @CalvinNrnha