Improving LLMs management in Snowflake
Learn how to use Snowpark ML Model Registry libraries to manage HuggingFace Large Language Models (LLMs) in Snowflake.
Disclaimer: This article was created using a private preview of the model registry. Please consult this documentation to migrate from this version to the one that was publicly previewed.
In my previous article, we demonstrated the deployment of Hugging Face pre-trained LLMs in Snowflake. However, a crucial issue that arises while developing solutions utilizing ML models is ensuring the project's continuation and adoption.
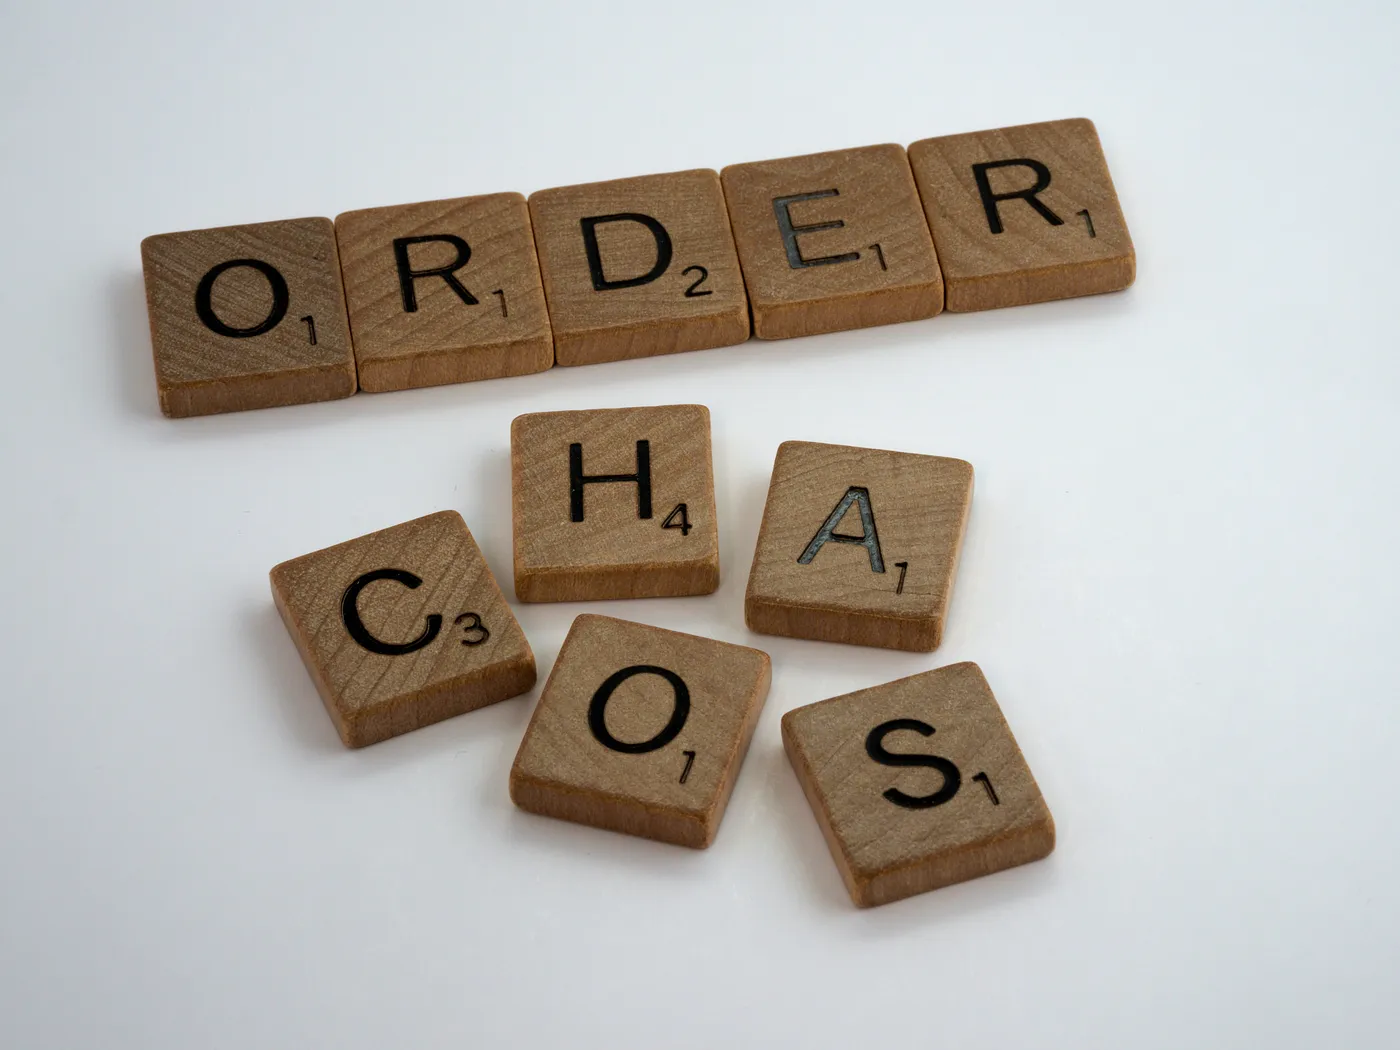
The maximum goal of a healthy Machine Learning development life-cycle should be to ensure short but orderly iterations so that value can be delivered faster but without introducing unnecessary chaos. Although it sounds simple, putting this into practice can be pretty challenging.
Luckily, Snowflake has recently released a set of libraries that can aid machine learning experts in achieving this goal-Snowpark ML Model Registry.
The purpose of this article is to provide guidance on utilizing a newly developed library to manage and enhance LLM solutions in Snowflake efficiently.
Snowpark ML Model Registry
The Snowpark ML model registry library allows you to store and retrieve your ML models easily. This library allows you to create your registries where you can keep your model assets and all associated metadata. Even better, this all happens within the Snowflake environment so that you can keep your data and models in one convenient location.
For a thorough introduction to the Snowpark ML Model Registry functionality, we highly recommend checking out Eylon Steiner’s blog post. It provides a comprehensive overview and valuable insights on the topic.
Supported ML models include Snowpark ML, XGboost, TensorFlow, scikit-learn, Pytorch, and MLFlow. The extensive support of ML models makes the library flexible.
As discussed in my previous article, most LLMs the HuggingFace community provides are written in TensorFlow or Pytorch. This characteristic makes it feasible to manage HuggingFace models using the Snowpark ML Model Registry libraries.
But how is this useful?

As we can see in the image above, the Generative AI project lifecycle is quite iterative. Multiple model versions are likely necessary to achieve the desired outcome. Now, not all incremental versions will be better. At times, rollbacks may be required, so it is essential to handle all assets and metadata associated with specific versions-here properly is where the Snowpark ML Model Registry comes into play. Let’s see it in an example.
Customer Reviews Classification
For this example, we will elaborate on the same use case as in our previous blog post, but we’ll manage the model using the Snowpark ML Model Registry libraries this time.
In the last blog post, we classified client reviews into topics referring to different parts of our business using the pre-trained HuggingFace pre-trained model Facebook/bart-large-mnli and Snowflake Vectorized Python UDFs.
First, we need to install the Snowpark ML Model Registry libraries.
Installing the library
The library is part of the Snowflake Python package Snowpark ML, and the installation instructions can be found here. For Conda environments, execute the following command to install the library:
conda install snowflake-ml-pythonSnowpark Python is a dependency of Snowpark ML and is installed automatically when you install Snowpark ML.
When creating a Conda environment, ensure that only supported Python versions are used for Snowflake Stored Procedures.
Create a new register database
The model registry libraries store the models in Snowflake internal named stages and all model metadata in tables/views. That’s why the first step in using the library is creating these structures by executing the following command.
result = model_registry.create_model_registry(
    session=session,
    database_name="<your_database_name>",
    schema_name='MODEL_REGISTRY'
)
The code above refers to the session object that represents a Snowpark session python object. Here you can find instructions on how to create it.
This command creates the following structures in your database.

After this initial setup, all interaction with the Model Registry happens through the model registry object created by referencing the registry database and schema, as shown next.
registry = model_registry.ModelRegistry(
    session=session,
    database_name="<your_database_name>",
    schema_name='MODEL_REGISTRY'
)
Register the model
After the model registry has been set up, the next step is registering the model itself.
But there is a catch…HuggingFace LLM models have two essential components: the model and the tokenizer. We could register the model by calling the registry’s log_method, but the tokenizer dependency would be lost.
The easiest way to do this is to use another fantastic feature of the library called custom_model. This feature allows you to define your own prediction class, encapsulating all custom assets and logic within it.
Using this method is quite simple. The first thing we need to do is save the tokenizer and model locally, as shown below:
import os
from transformers import AutoTokenizer, AutoModelForSequenceClassification

# Loading the model and the tokenizer
model = AutoModelForSequenceClassification.from_pretrained('Facebook/bart-large-mnli')
tokenizer = AutoTokenizer.from_pretrained('Facebook/bart-large-mnli')

# Save the model locally
ARTIFACTS_DIR = "/tmp/facebook-bart-large-mnli/"
os.makedirs(os.path.join(ARTIFACTS_DIR, "model"), exist_ok=True)
os.makedirs(os.path.join(ARTIFACTS_DIR, "tokenizer"), exist_ok=True)
model.save_pretrained(os.path.join(ARTIFACTS_DIR, "model"))
tokenizer.save_pretrained(os.path.join(ARTIFACTS_DIR, "tokenizer"))
Next, we need to create a class that inherits from snowflake.ml.model.custom_model.CustomModel and add the predict method with code to execute the classification using the model and tokenizer. Below is an example code demonstrating how to accomplish this task.
from snowflake.ml.model import custom_model
import pandas as pd
from transformers import pipeline

class FacebookBartLargeMNLICustom(custom_model.CustomModel):
   def __init__(self, context: custom_model.ModelContext) -> None:
       super().__init__(context)

       self.model = AutoModelForSequenceClassification.from_pretrained(self.context.path("model"))
       self.tokenizer = AutoTokenizer.from_pretrained(self.context.path("tokenizer"))
       self.candidate_labels = ['customer support', 'product experience', 'account issues']

    @custom_model.inference_api
   def predict(self, X: pd.DataFrame) -> pd.DataFrame:
       def _generate(input_text: str) -> str:
           classifier = pipeline(
               "zero-shot-classification",
               model=self.model,
               tokenizer=self.tokenizer
           )

           result = classifier(input_text, self.candidate_labels)
           if 'scores' in result and 'labels' in result:
               category_idx = pd.Series(result['scores']).idxmax()
               return result['labels'][category_idx]

           return None

       res_df = pd.DataFrame({"output": pd.Series.apply(X["input"], _generate)})
       return res_df
There are virtually no restrictions on the process inside the prediction method. This standardizes how the model will be called, regardless of the internal prediction procedure, as long as the model's input is a customer review and the output is a category.
model = FacebookBartLargeMNLICustom(custom_model.ModelContext(models={}, artifacts={
   "model":os.path.join(ARTIFACTS_DIR, "model"),
   "tokenizer":os.path.join(ARTIFACTS_DIR, "tokenizer")
}))

model.predict(pd.DataFrame({"input":["The interface gets frozen very often"]}))
After that, registering the models is as simple as defining a name, a version, and a signature for the model, as shown below:
from snowflake.ml.model import model_signature

model_id = registry.log_model(
   model_name='Facebook/bart-large-mnli',
   model_version='100',
   model=cross_model,
   conda_dependencies=[
       "transformers==4.30.0"
   ],
   signatures={
       "predict": model_signature.ModelSignature(
           inputs=[model_signature.FeatureSpec(name="input", dtype=model_signature.DataType.STRING)],
           outputs=[model_signature.FeatureSpec(name="output", dtype=model_signature.DataType.STRING)],
       )
   }
)
This method:
- Serializes the model and uploads it to a Snowflake internal named stage.
- Creates an entry in the model registry for the model, referencing the staged location.
- Adds metadata such as description, version, and tags to the model.
Once this process finishes, you can easily retrieve the model and the tokenizer whenever needed by specifying its name and the version you require. This process will download the model from the stage and load it into memory.
reference = model_registry.ModelReference(registry=registry, model_name='Facebook/bart-large-mnli', model_version='100')
model = reference.load_model()
model.predict(pd.DataFrame({"input":["The interface gets frozen very often"]}))
The library also allows you to relate metrics to each model easily, and there are no restrictions on the kind of metric you can relate to the model.
model.set_metric("dataset_validation", {"accuracy": 0.9})
# Print all metrics related to the model
print(model.get_metrics())
It’s really simple — with these simple steps, we already created a model version and added performance data as the model’s metadata. Pretty neat, don’t you think?
You can repeat this process to create as many versions as necessary to maintain tight control over your model assets. All model versions will be stored for easy and consistent retrieval, enabling your team to work in a more organized manner. Additionally, you can easily grant access to other departments by simply providing the name of the model and the desired version.
Summary
Building an LLM solution can be a lengthy and disorganized process, however, this article demonstrated how using the newest Snowpark ML Model Registry library can improve this process. We provide examples of creating a registry for your models, uploading LLM to the registry, associating metadata with the model, and retrieving specific versions.
Our upcoming article will demonstrate utilizing these libraries to automate deploying new LLM versions into Snowflake UDF. This ensures that our company's latest and most efficient version is available without disruptions.
Don't forget to read the Snowpark ML team's blog post on deploying Open Source LLM Deployment in Snowflake. They provide detailed information on libraries and upcoming Snowpark container features.
Lastly, I would like to express my gratitude to the Snowpark ML team and the folks from Streamlit for assisting me in curating the content of this article and giving us early access to the library preview. It is always great to witness how the LLM community in Snowflake is expanding and gaining more traction.
I’m Fabian Hernandez, Data Architect at Infostrux Solutions. Thanks for reading my blog post. You can follow me on LinkedIn and subscribe to Infostrux Medium Blogs for the most interesting Data Engineering and Snowflake news. Please let us know your thoughts about this approach in the comment section.