Google Blogger 部落格 iOS App
串接 Google Blogger API 寫一個像 Medium 的 iOS App!
|YouTube Demo 模擬器影片:iPhone 13 Pro Max
|Demo 模擬器影片:Apple Watch Series 7–45mm

|GitHub Repository
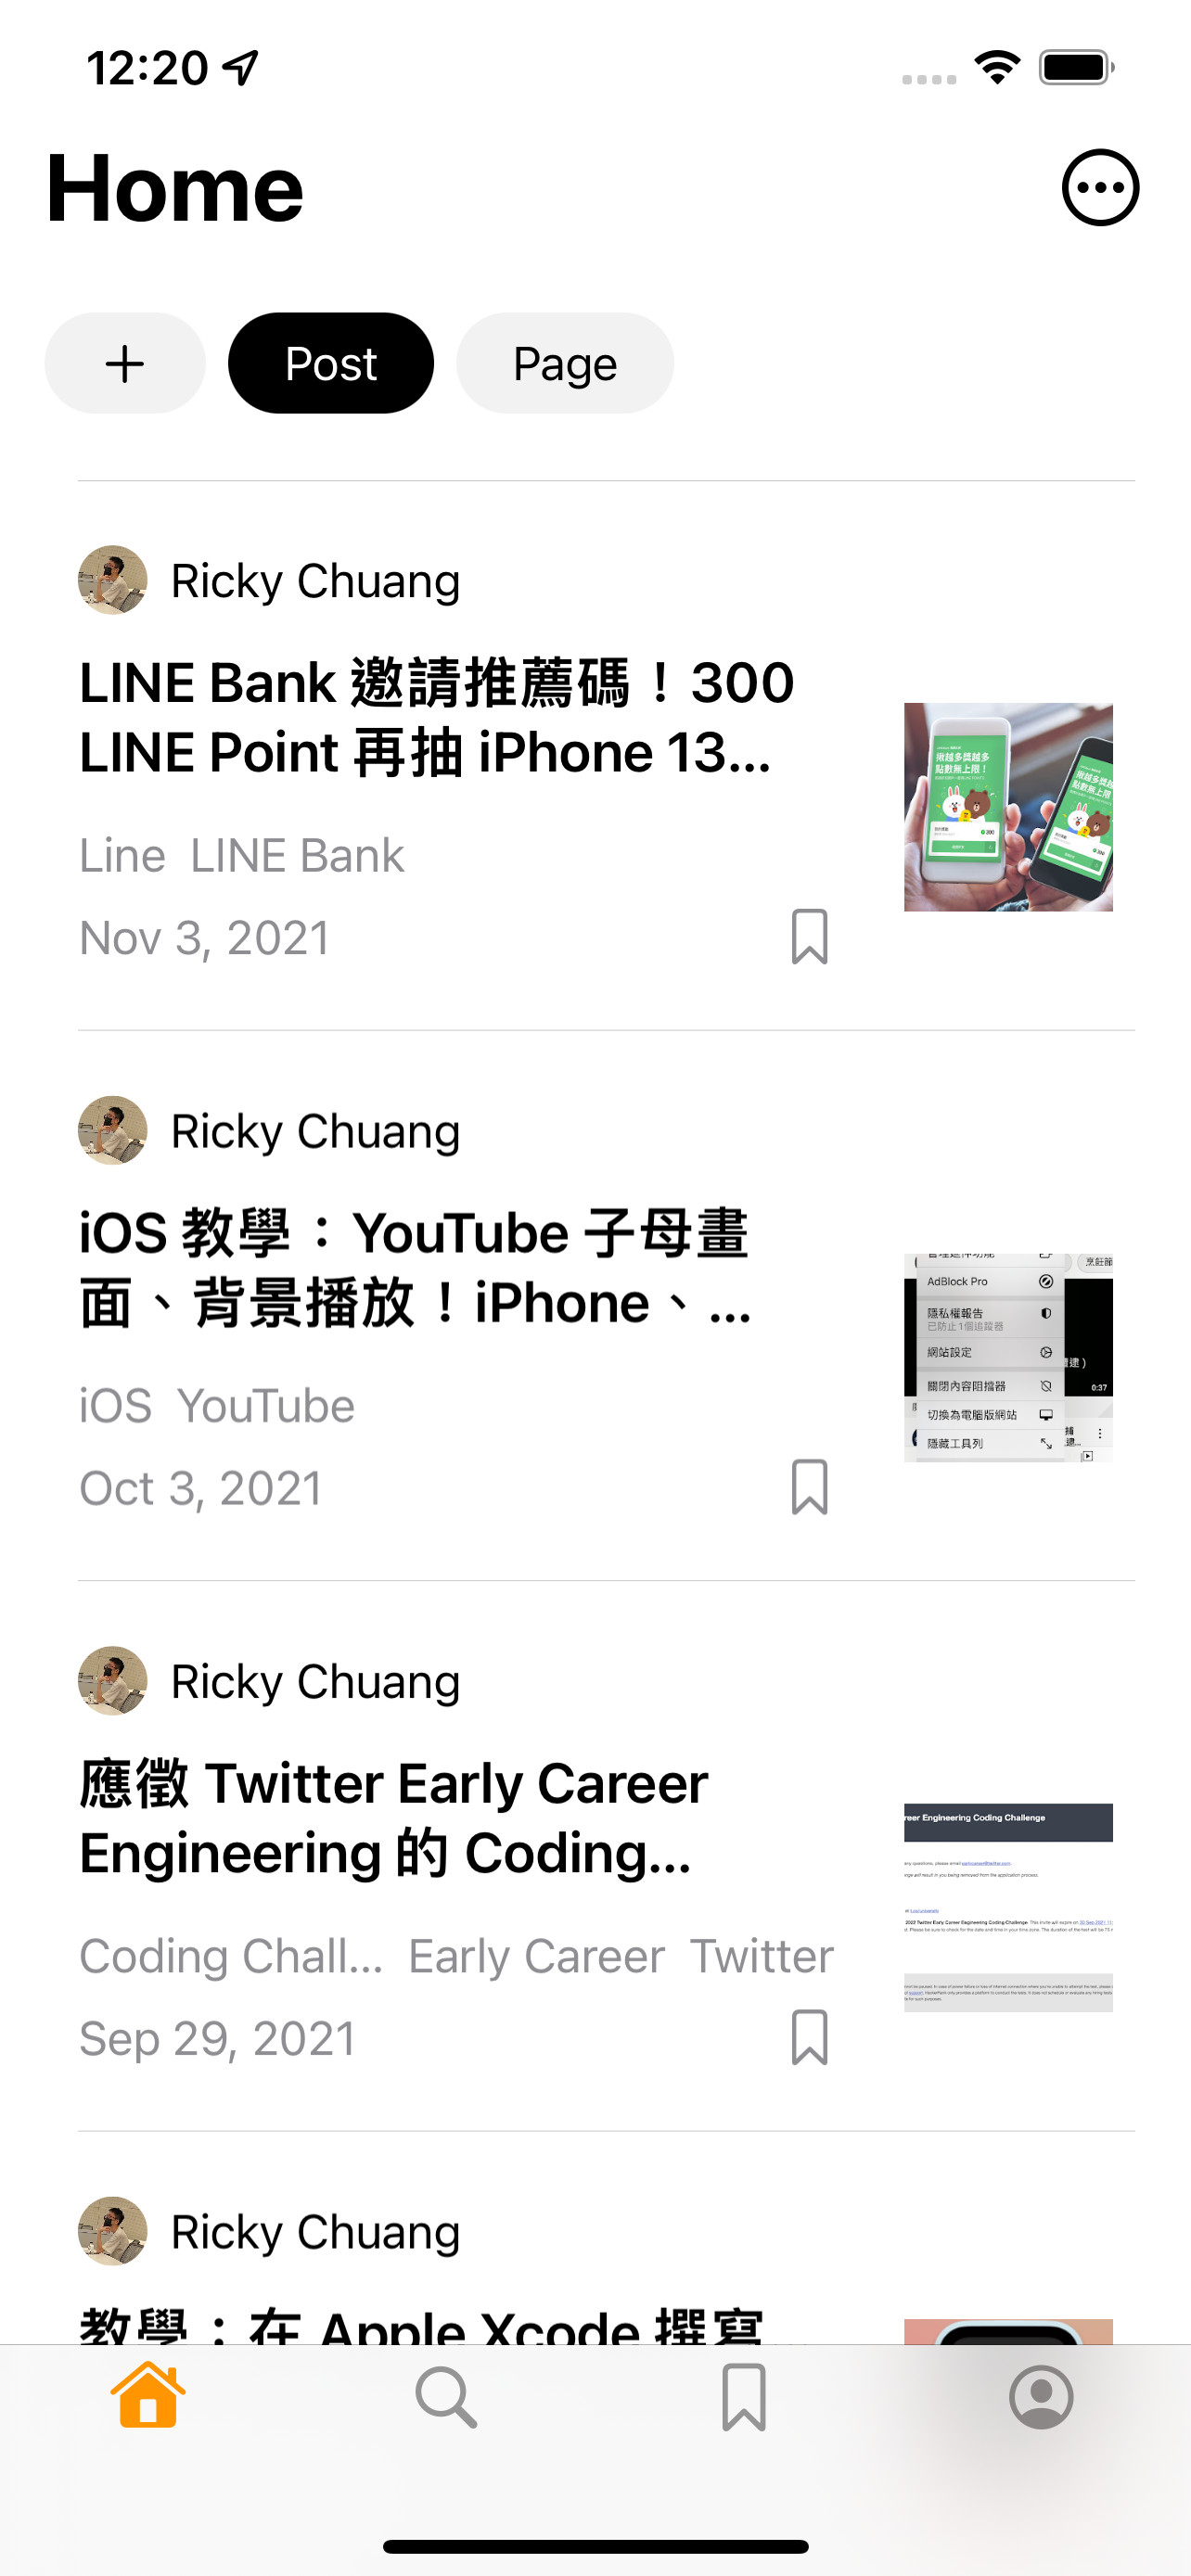
|模擬器畫面:iPhone 13 Pro Max


|模擬器畫面:iPad Pro 12.9-inch(第 5 代)

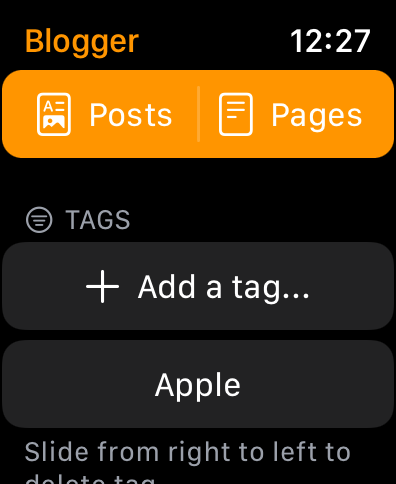
|模擬器畫面:Apple Watch Series 7–45mm


|iOS App 技術說明
SwiftUI、API、MVVM、Widget、Watch⋯⋯
- 串接後台的 API 抓取 JSON 資料後以
List顯示,點選 row 可到下一頁顯示 detail - 使用 Google Blogger 的兩支 API:
按文章時間順序:\(blogURL)/feeds/\(term)/default?alt=json&start-index=1&max-results=\(maxResults)
其中,\(blogURL) 可以是任何 Domain name 為 blogspot.com 的網址,如:https://sharing-life-in-tw.blogspot.com,\(term) 則為 posts 或 pages,分別為文章和網頁,\(maxResults) 則是可有可無,但可以控制 API 回傳的文章數,沒填時預設是回傳 25 篇。
搜尋文章:\(blogURL)/feeds/posts/default?alt=json&q=\(term)
其中,\(blogURL) 和上一段解釋的一樣,而 \(term) 就是要搜尋的字串了,此 API 會回傳所有相關的文章。
- 使用
StateObject&ObservableObject - 定義遵從
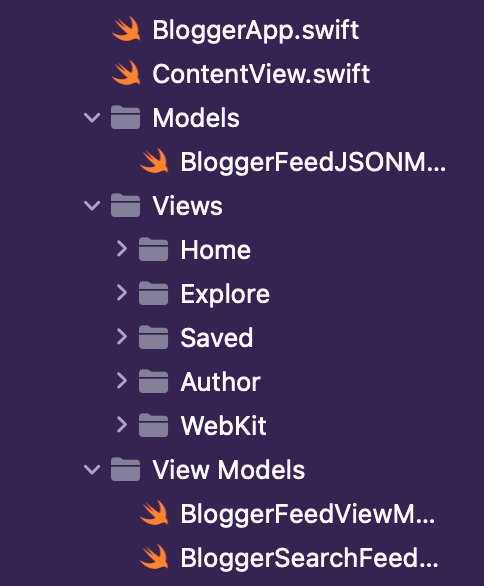
ObservableObject的 class 串接網路 API 抓資料,利用Publishedproperty 觸發畫面更新 - 採用 MVVM 架構,遵從
ObservableObject的 class 是 view model

- 使用
ProgressView顯示資料下載中 - 資料抓取失敗,比方沒有網路時,右上亮紅燈,及顯示「Try again」的
Button

- 使用的第三方套件:
ButtonSheet
https://github.com/adamfootdev/BottomSheet
- 下拉更新功能使用 iOS 15 的
refreshable - 以
TabView、NavigationView、fullScreenCover製作多頁面 App - search 功能
- 使用
UIViewControllerRepresentable加入UIActivityViewController實現分享功能 - 使用 Core Data 儲存文章、筆記(note)和標籤(Tag),資料可儲存跟刪除
- 使用的動畫:
withAnimation - 使用的
Gesture:onLongPressGesture - 使用
WidgetKit製作 widget
|上課沒教過的功能技術:
@Environment(\.colorScheme) private var colorScheme:偵測日夜間模式
var tabViewHandler: Binding<Int> { Binding (
    get: { self.selectTab },
    set: {
        if $0 == self.selectTab { backToTop.toggle() }
        self.selectTab = $0
    }
)}
點擊 Tab icon 時,置頂 scrollView.scrollTo(0)
.environment(\.symbolVariants, .none):取消 Tab icon 使用 SF symbols 時的預設 .fill
contextMenu:長按 List 的 row 能顯示功能選單
Slider(value: $ScreenBright, in: 0...1)
    .onAppear {
        ScreenBright = UIScreen.main.brightness
    }
    .onChange(of: UIScreen.main.brightness) { _ in
        ScreenBright = UIScreen.main.brightness
    }
設定裝置的螢幕亮度
.onChange(of: ScreenBright) { _ in
    UIScreen.main.brightness = ScreenBright
}
使用 @Binding var editMode: EditMode 及if !editMode.isEditing 判斷,讓某些元件於 List 編輯時隱藏
if let thumbnail = savedPost.thumbnail {
    let resVarId = thumbnail.lastIndex(of: "s") ?? thumbnail.endIndex
    let fullResUrl = thumbnail[..<resVarId] + "s480"
}
網路圖片字串處理,提高畫質
extension View {
    func border(width: CGFloat, edges: [Edge], color: Color) -> some View {
        overlay(EdgeBorder(width: width, edges: edges).foregroundColor(color))
    }
}struct EdgeBorder: Shape {
    var width: CGFloat
    var edges: [Edge]    func path(in rect: CGRect) -> Path {
        var path = Path()

        for edge in edges {
            var x: CGFloat {
                switch edge {
                case .top, .bottom, .leading: return rect.minX
                case .trailing: return rect.maxX - width
                }
            }
            var y: CGFloat {
                switch edge {
                case .top, .leading, .trailing: return rect.minY
                case .bottom: return rect.maxY - width
                }
            }
            var w: CGFloat {
                switch edge {
                case .top, .bottom: return rect.width
                case .leading, .trailing: return self.width
                }
            }
            var h: CGFloat {
                switch edge {
                case .top, .bottom: return self.width
                case .leading, .trailing: return rect.height
                }
            }
            path.addPath(Path(CGRect(x: x, y: y, width: w, height: h)))
        }
        return path
    }
}
讓 border 可以只出現某幾邊,如:底線
import Foundationfunc fetchPosts(completion: @escaping ([Entries])-> ()) {
    let urlStr = "https://sharing-life-in-tw.blogspot.com/feeds/posts/default?alt=json&start-index=1&max-results=4"

    if let url = URL(string: urlStr) {
        Task {
            do {
                let (data, _) = try await URLSession.shared.data(from: url)
                let decoder = JSONDecoder()
                let dateFormatter = DateFormatter()
                dateFormatter.dateFormat = "yyyy-MM-dd'T'HH:mm:ss.SSSZZZZZ" //2021-11-03T22:55:00.031+08:00
                decoder.dateDecodingStrategy = .formatted(dateFormatter)
                let bolggerFeedResponse = try decoder.decode(BloggerFeedJSONModel.self, from: data)
                completion(bolggerFeedResponse.feed.entry)
            } catch {
            }
        }
    }
}
讓 Widget 抓 API 的 View Model,重點在使用 completion
func getTimeline(in context: Context, completion: @escaping (Timeline<Entry>) -> ()) {
    fetchPosts { entries in
        var uiImages: [UIImage] = Array(repeating: UIImage(), count: 4)
        let currentDate = Date()
        var count = 0
        for index in 0..<entries.count {
            if let thumbnail = entries[index].thumbnail {
                let resVarId = thumbnail.url.lastIndex(of: "s") ?? thumbnail.url.endIndex
                let fullResUrl = thumbnail.url[..<resVarId]
                URLSession.shared.dataTask(with: URL(string: fullResUrl + "s480")!) { data, response, error in
                    if let data = data, let uiImage = UIImage(data: data) {
                        uiImages[index] = uiImage
                        count += 1
                        if count == entries.count {
                            let entry = Entry(date: currentDate, entry: entries, uiImage: uiImages)
                            let nextUpdate = Calendar.current.date(byAdding: .minute, value: 15, to: currentDate)
                            let timeline = Timeline(entries: [entry], policy: .after(nextUpdate!))
                            completion(timeline)
                         }
                     }
                 }.resume()
             } else {
                 count += 1
                 if count == entries.count {
                     let entry = Entry(date: currentDate, entry: entries, uiImage: uiImages)
                     let nextUpdate = Calendar.current.date(byAdding: .minute, value: 15, to: currentDate)
                     let timeline = Timeline(entries: [entry], policy: .after(nextUpdate!))
                     completion(timeline)
                 }
             }
        }
    }
}
getSnapshot 也是一樣的概念,可以讓 widget 在預覽時就抓 API 資料
SwiftUI 寫 Apple Watch 的 watchOS app
|加分功能
- 滑到底載入更多動態

